Popular Searches
Top Suggestions

Popular Searches
Top Suggestions

9 Secrets for Vacuum-Sealing Your Fish
By Doug Olander | Photos: Ryan Griffin
Let’s face it: Vacuum-sealing fish involves more steps and time than simply dropping your fillets in a plastic bag and setting them in your freezer. No argument there. However, no arguing with the fact that you can face freezer-burned meat with a strong fishy taste when you decide to cook it for dinner a few months down the road. Or, you can thaw out fillets that look, smell, and taste as good as the day they were caught. Here’s some insight to ensure that result.
What is vacuum sealing?
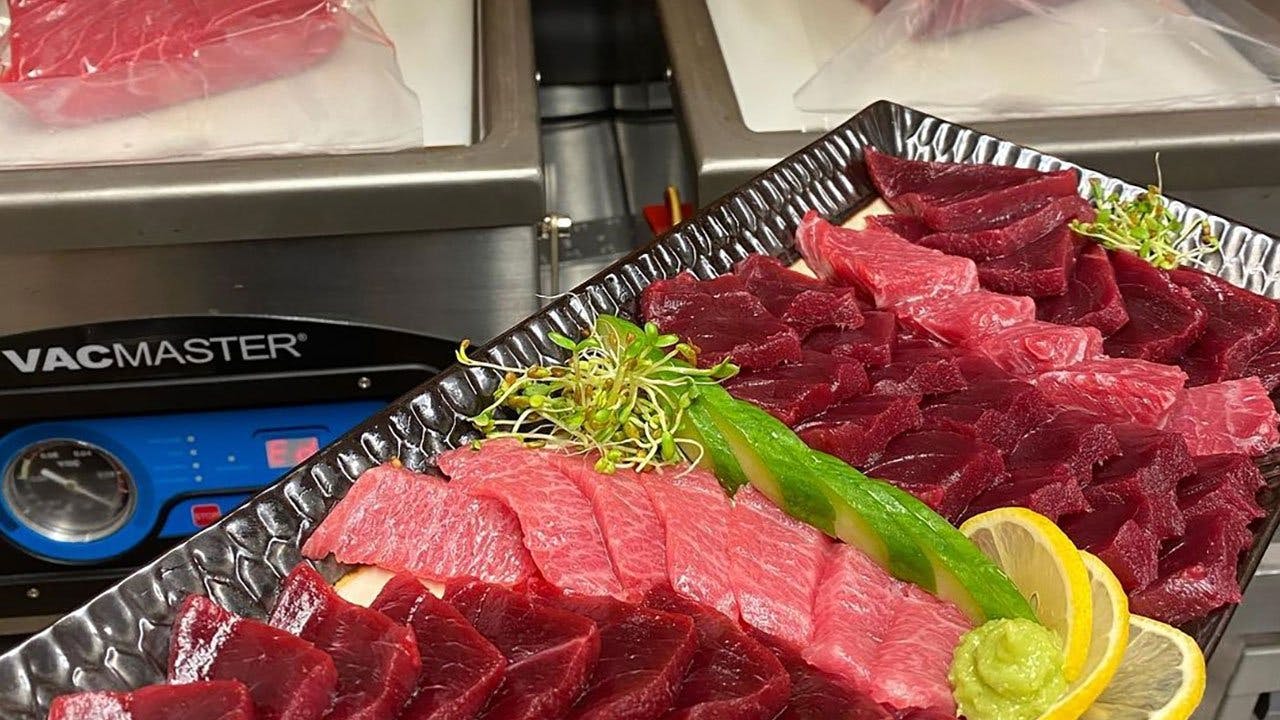
A vacuum sealer removes air and moisture from a plastic bag containing fish, typically a fillet or two or more fillets for small fish, and a piece of one fillet for large fish. The sealer then seals the plastic tightly by thermally bonding it at the opening.
Is it really worth the hassle?
Only if you want your frozen fish to taste as good as the day you caught it. Moisture leads to decay in flesh, even when frozen solid. Removing moisture and air from a bag with fillets and sealing it tightly ensures a long freezer life. It's reasonable to expect vacuum-sealed fish to have a freezer life of one to two years with little or no loss in quality. No more inevitable spots of freezer burn on fillets, no fishy or off-taste from fillets exposed to air.

1. Use a purpose-built vacuum sealer
High moisture content in fish flesh may require the sealer to remove excess moisture. Chamber sealers may do a better job of this, but they are pricier. Some less expensive (and more widely available) external sealers offer a setting for moist foods, such as fish fillets. One recent review in New York online considers several models of vacuum sealers.

2. Keep the bag dry
Make sure the end of the bag to be sealed is completely dry to ensure a good seal. Some people use paper towels to ensure the upper 2 to 3 inches of the bag, below the seal, are dry. Watch that no part of the fillet ends up in this area, as it could get in the way when sealing. Also, keep an eye on these upper two inches or so when sealing to make sure no liquid works its way up the bag before it's sealed.
3. Pre-freeze your fillets
Lacking a sealer designed to remove moisture, you can “pre-freeze” by setting the bags in the freezer long enough for the fillets to get firm (a couple of hours or so) and then vacuum-seal the package. Some people wrap fillets in plastic wrap, then partially freeze them before vacuum sealing.
4. Consider soaking fillets in brine before sealing
Even a few minutes in a brine solution before you pat the fillets dry will help keep the flesh firm.
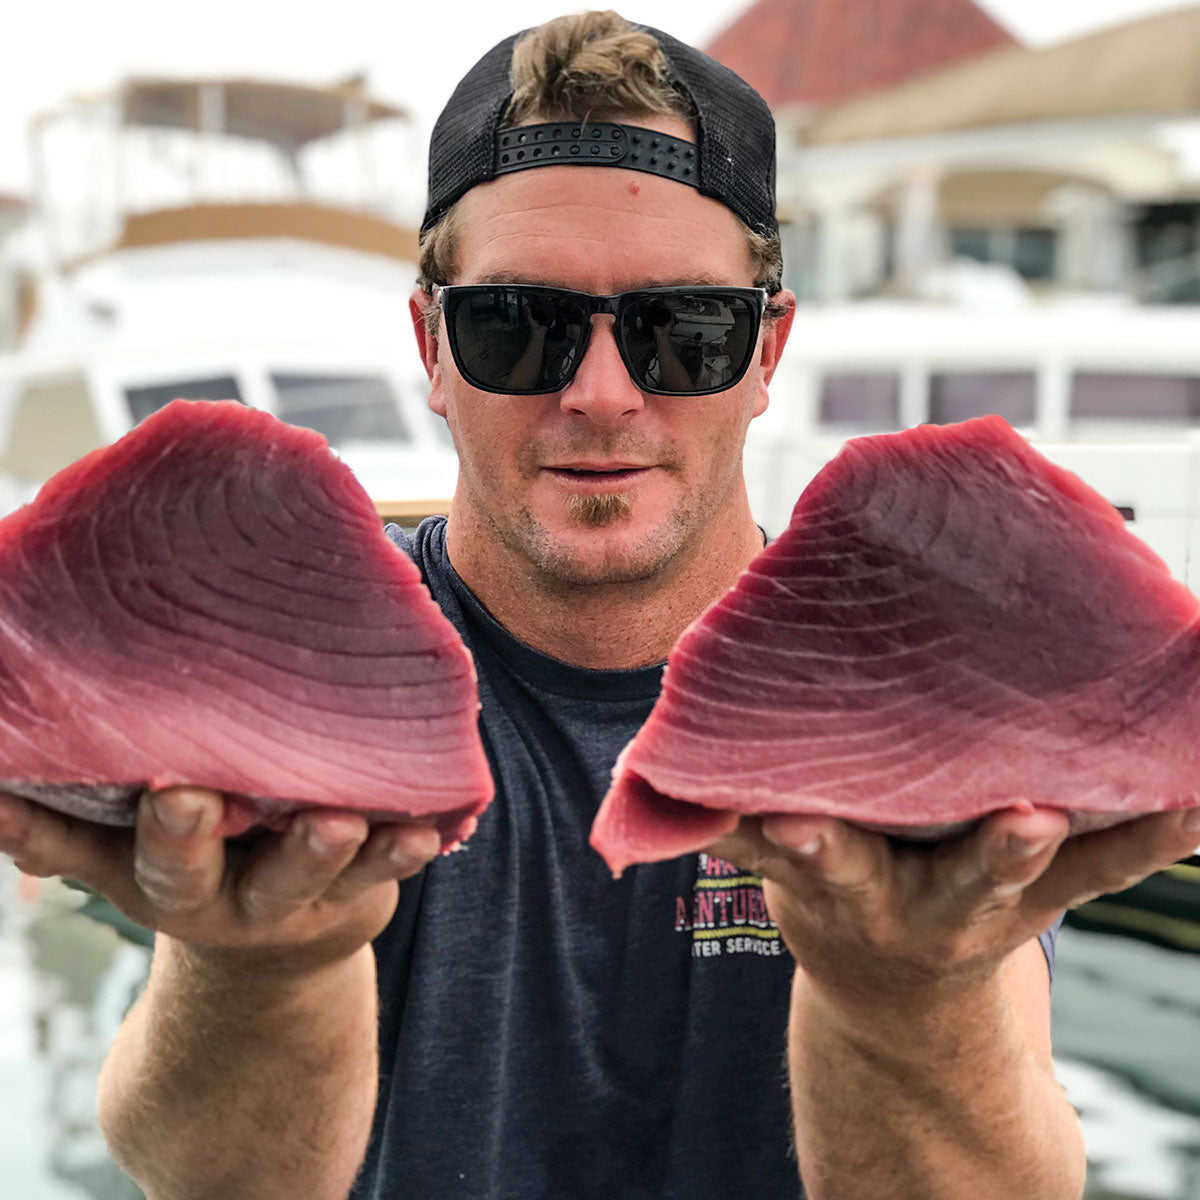
5. Thoroughly dry fillets with paper towels
Don't make the mistake of just giving the fillets a quick pat. The more moisture you can remove, the better the result will be.

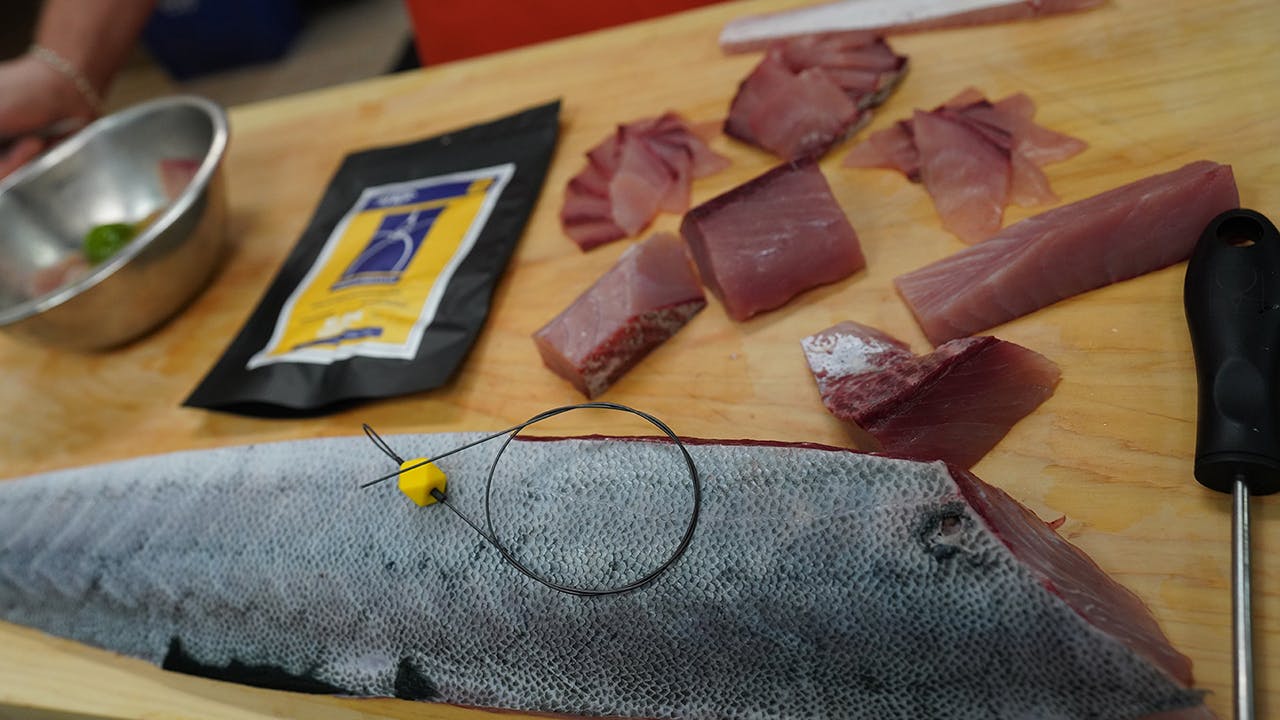
6. Check for bones
Check carefully for any bones, particularly rib bones, which may have been cut off but could still protrude from the fillet and pierce a sealed bag. Make sure you can find or feel no bones protruding from the fillet.
7. Season fish if you wish before sealing
This is a great time to add any spices you might want. Some people like to put their fillets in marinade in the bag to be vacuum sealed, but if you don't have an expensive chamber sealer, it's best to pre-freeze the fish with marinade before vacuum sealing. Another method is to place each fillet in a Ziploc bag with marinade, zip it shut, and then vacuum seal that.
8. Avoid overfilling bags to be sealed
Less in each bag is generally preferable.
9. Thaw slowly
Not on a kitchen counter, but in the refrigerator. (This typically requires you to start thawing a day before intended use.) While it's thawing, remove the fish entirely from the bag and place it in a bowl or onto a plate. Clostridium botulinum bacteria can grow in the anaerobic conditions inside a vacuum-sealed bag. Removing the fish and exposing it to air will ensure that botulina spores will not bloom on your fish. (Spores cannot develop in temperatures under 38 degrees Fahrenheit even in the bag, but some home refrigerators may be set warmer than this.)
So, bottom line: If you know you can't consume all your fish within the first few days, the investment in a vacuum sealer is invaluable to ensure you have the freshest fish for months to come.