Guide to Fish Cleaning with Eric Newman
Captain Eric Newman has kitchen experience that he uses to provide top-notch service to his patrons at Journey South Outfitters. In this video he shares his experiences and the method he uses to fillet and break down a fish.

Steps to Fillet a Fish
Starting at the head, make a vertical cut behind the skull and gills making sure to get all the meat from above the head. As you come down, Capt. Eric suggests avoiding the belly for separate removal later. If you prefer to pull the belly off the fillet itself, you can cut down keeping the belly attached to the rest of the fillet.
Next, you want to score the skin from the bottom and top of the fish separating the skin from the fins to make removal easier. On some fish, there is an easy crease you can fit your knife into. A good indicator that you made it deep enough is to listen for your knife to run across bones. This means you are not wasting any meat. Mirror these cuts on both sides to help the future process.
On the first side, as you continue to slice through the meat, continue to attempt to make the knife run across the bones and start to separate the meat from the skeleton. A good tip that Capt. Eric gives is when you are first starting, do one side, then before taking off that side, do the other side as well. This way you are not creating a lopsided fish and give yourself a harder time filleting the second side.

Once you have scored and made the deeper incisions on both sides, you can remove the fillet from the first side. Create your tail cut, and as you lift up the fillet, use your knife to cut and separate the fillet from the body. Once you get the fillet off, lay the fillet skin side down to avoid touching anything to the meat of your fish. This is to make sure the fillet stays as clean as you can. Repeat this on the second side, again getting the most meat off the body and keeping the meat off any surfaces to mitigate bacteria growth.
When separating the collar, you want to break the collar out from the throat and then both the connecting points on either side where the collar connects to the top. There is a joint that Eric shows that makes a good spot to aim for to disconnect. From there, the collar can be separated.
One last thing Eric tries to get out of larger fish is the cheek. The best way to achieve this is to make a circular cut around the cheek using a smaller flexible knife. From there, you can dig in deeper to cut out the cheek precisely. Skin the cheek and you have one of the best cuts on a fish that you can get.
Last step is breaking down fillets into more manageable pieces for cooking. It is important to plan your meals to know the best way to cut your fish. There are steaks you can make, belly cuts, sashimi cuts (called Saku blocks) and more! Eric breaks this AJ down into two top loins, two bottom loins, two rib cuts, two cheeks, and one collar/belly.


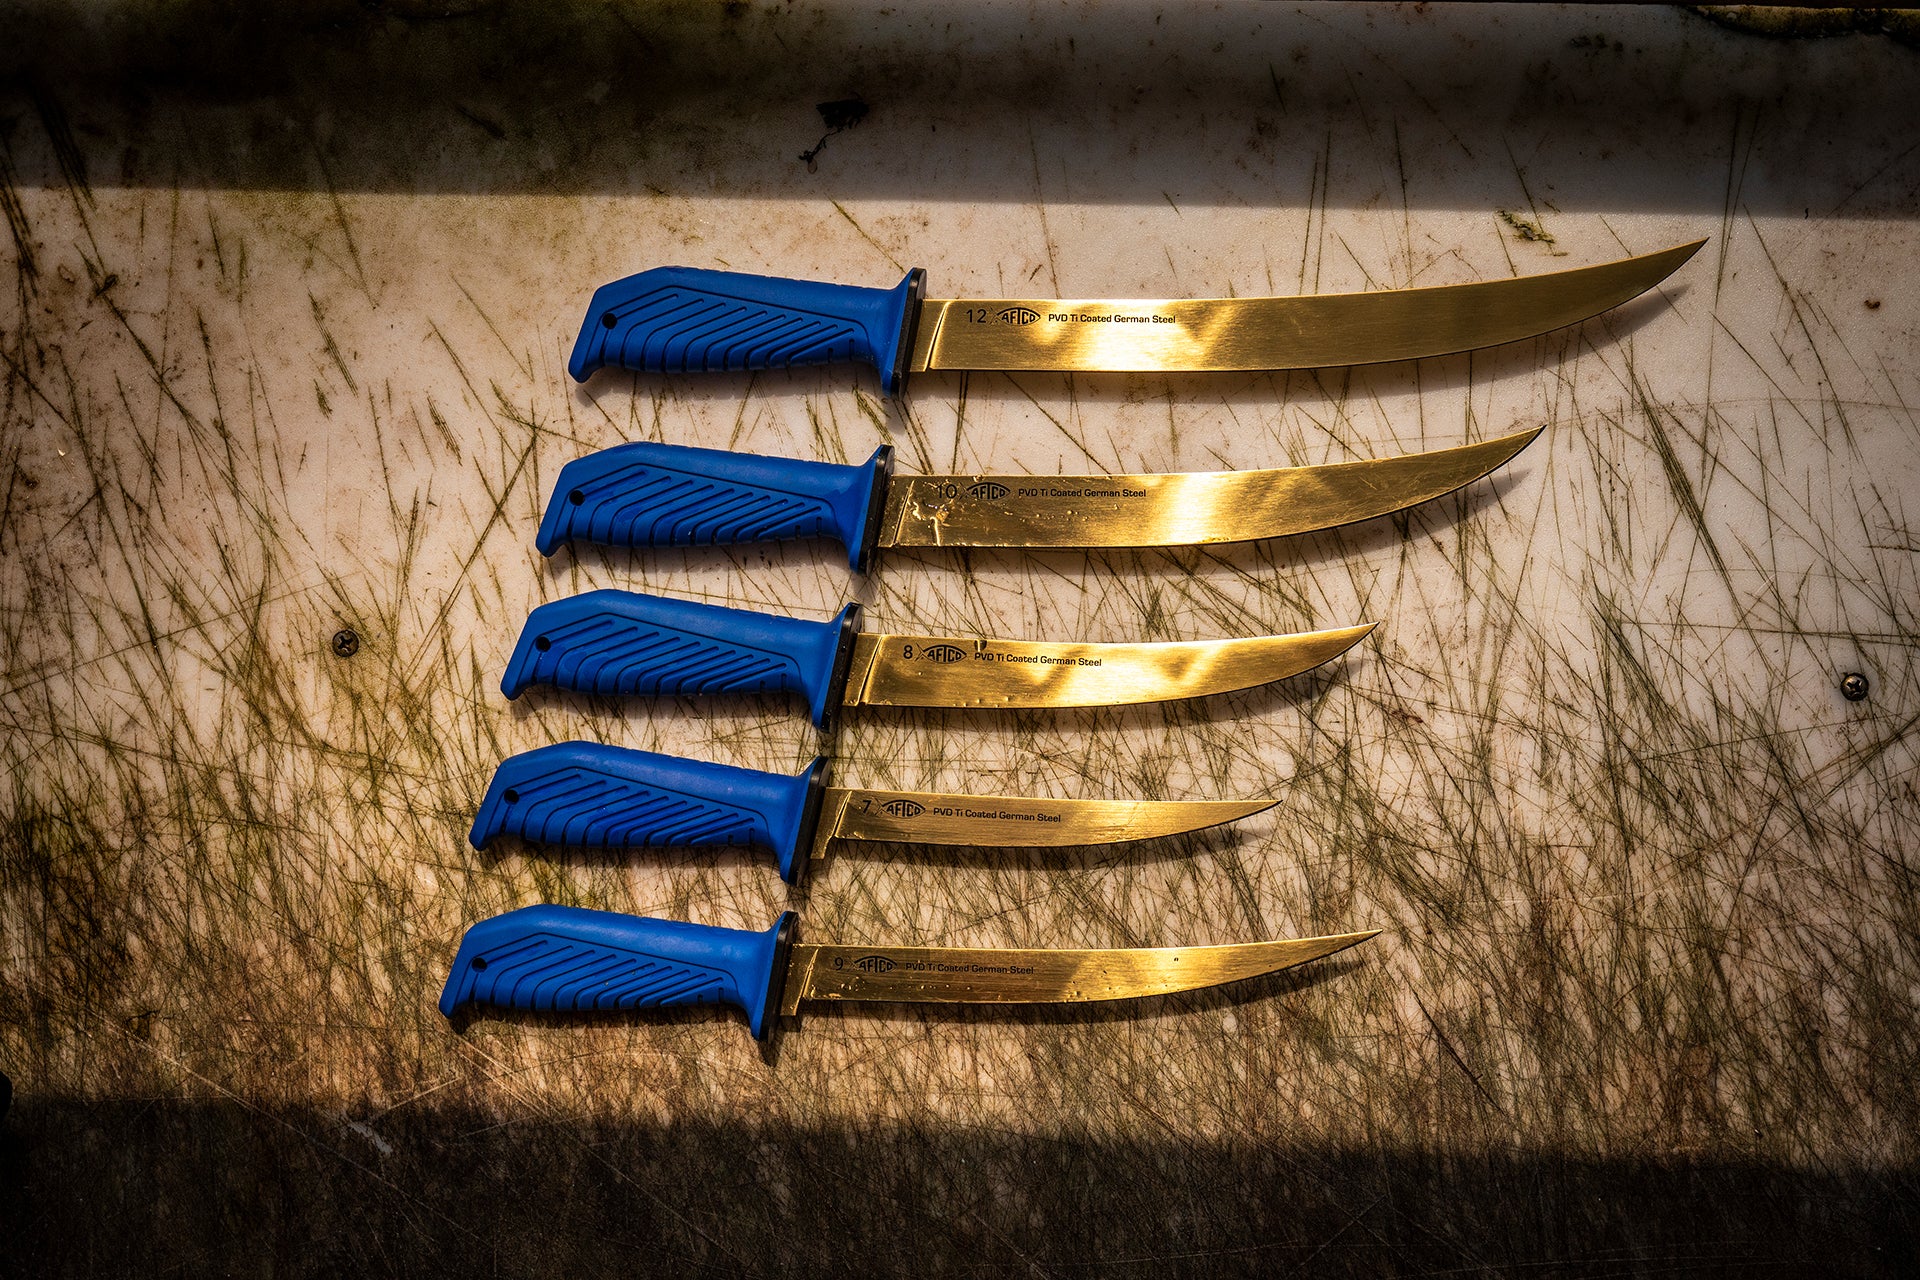
You may notice Captain Eric used multiple different knives to achieve this breakdown. It is recommended to have as many knives needed to do each job when filleting a fish. You may need a smaller flexible knife for something like a cheek, an 8 inch breaking knife for going through bones, and a 9 inch flex for the fillet portion. Whatever mix of knives you need, check out the selection of AFTCO Fillet knives to get what you need for breaking down your next fish.


